
Hardware
Timelapse: building a meshO Control
From a bare circuit board to a sealed radio control with its light on, in 35 seconds.

Tate Needham
meshO · · 2 min read
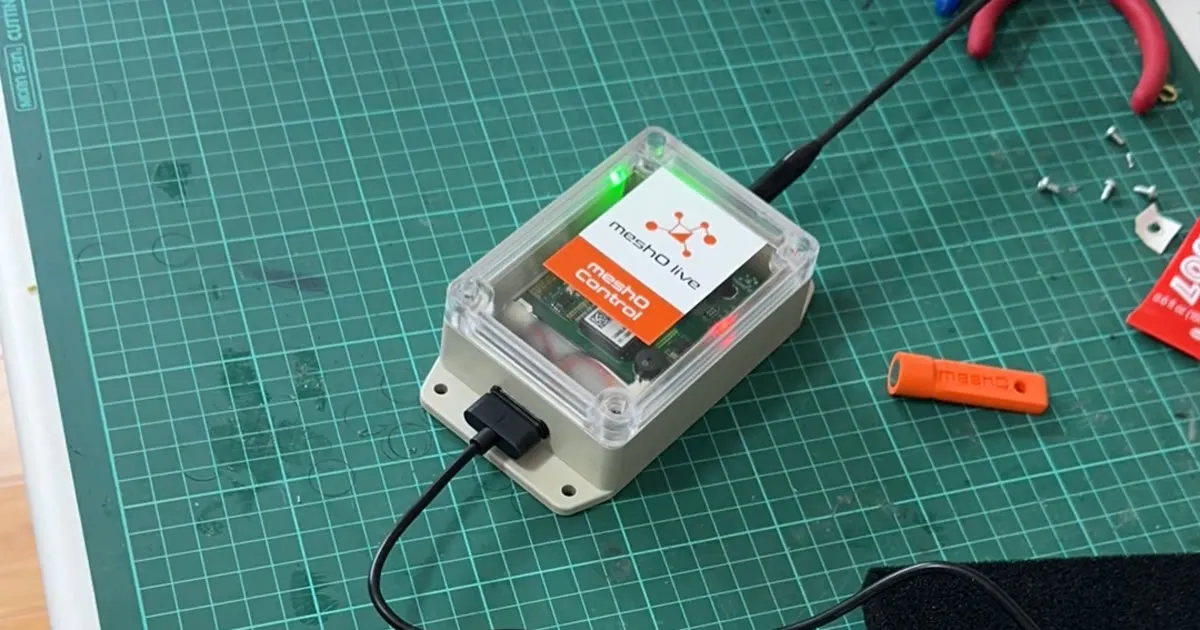
Every meshO Control goes together on a bench like this one. Here’s one from start to finish, sped up.
What goes in
- The circuit board. We designed it ourselves, with the components on one board so there are fewer parts to go wrong. It carries the mesh radio, the two radios that listen for SIACs and SRR stations, GPS, a buzzer and the status lights.
- The battery. A rechargeable battery sits under the board. Charging and battery monitoring are on the board too.
- The antenna. The mesh radio is sub-GHz, which reaches further through trees and terrain than 2.4 GHz and gets away with a shorter antenna.
- The case. A case with a clear lid, so you can see the lights in the forest without opening it.
No power switch
There’s no switch to leave on or forget. A Control switches on with the meshO magnet (the orange one at the end of the video) and can be switched off remotely. The black connector on the side is the magnetic charging cable, the same one the charging case uses.
More about the Control
The meshO Control page has the specifications, and the Technical page explains what all those radios are for.